In the previous tutorial we introduced you to RubyMotion for building iOS apps. RubyMotion also supports other platforms, including Android, but in this tutorial, we will continue learning about iOS development. This tutorial will introduce you to a framework called RedPotion, which will significantly improve your iOS development experience. In this tutorial, we’re going to start building an app that makes use of a table screen to display a list of events, specifically events from Calagator.org.
What is RedPotion?
I like to think of RedPotion as the “Rails of iOS development”. It’s a collection of some of the best gems for RubyMotion, providing a toolkit of simple, intuitive APIs and DSLs for accomplishing common tasks and reducing the amount of boilerplate code you would typically write in an iOS app. RedPotion abstracts many of the iOS specific terminology and verbose method names with intuitive terminology and simple method names. For example, an iOS application will have methods like this:
application:didFinishLaunchingWithOptions:applicationDidBecomeActive:tableView:cellForRowAtIndexPath
In RedPotion, these same methods can be defined as:
on_loadon_activatetable_data
This is just a few examples of the many ways that RedPotion makes iOS development simpler, and more like what you are used to as a Ruby developer.
To learn more about RedPotion, visit the documentation: http://docs.redpotion.org/en/latest/
Getting Started with RedPotion
To get started using RedPotion, you need to install the gem:
$ gem install redpotion
Successfully installed redpotion-1.5.0
RedPotion comes with its own set of command line generators. Let’s start by creating a new RedPotion application called calagator.
$ potion new calagator
Creating app...
Running bundle...
Installing CocoaPods...
Installation complete!
Since RedPotion has a number of RubyGem and CocoaPod dependencies, the generator will automatically install these dependencies for us. Similarly to the RubyMotion generator, the RedPotion generator created an app for us to get started. Let’s see what it looks like by running the app in the simulator:
$ cd calagator
$ bundle exec rake
You will notice that it takes quite a bit longer to compile this app. This is because RubyMotion needs to compile every file in your app, as well as all of your dependencies. Fortunately, RubyMotion only re-compiles the files that have changed. So the next time you compile your app, it will be a lot faster.
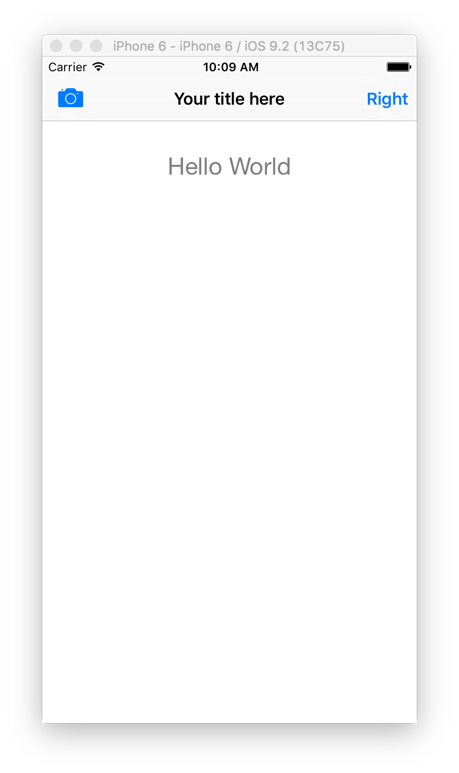
If all goes well, you should see something that looks like this:
If you are using the free version of RubyMotion, you probably saw an error about a missing or unsupported iOS SDK. The default RedPotion template supports iOS 7.1, but the free version of RubyMotion only supports iOS 9.2. In your Rakefile, you may need to change this line:
app.deployment_target = '7.1'…to this:
app.deployment_target = '9.2'Creating Screens
In iOS, UIViewControllers are responsible for coordinating what you see on the screen. In RedPotion, these screens are called…well…screens. RedPotion provides lots of different screen classes to help you avoid the boilerplate code required to build these common screens. Some of these examples include tables, navigation bars, tab bars, maps, web screens, and more.
Let’s start by creating a table screen to display the events. To do this, we will use the RedPotion command line generator.
$ potion g table_screen list_eventsYou will see that this created a few files for us, including app/screens/list_events_screen.rb. Let’s open this file and learn how to work with table screens.
Working with Table Screens
At minimum, a table screen will look like this:
class ExampleTableScreen < PM::TableScreen
  title "The title of our screen in the nav bar"

  def on_load
    # do some setup here
  end

  def table_data
    [{
      title: "Section title goes here"
      cells: [
        { title: "Hello", subtitle: "World!" }
      ]
    }]
  end
end
One of the first things to notice is that our ListEventsScreen inherits from a PM::TableScreen. Since RedPotion is mostly a combination of other gems, it should be noted that the screens are provided by a gem called ProMotion (hence the PM module name). Next, an on_load method is called when iOS has finished setting up the screen. This is the same as the viewDidLoad method, but with a more Ruby syntax. The last method is the table_data method. By returning a simple structure of the data we want our table to display, we avoid having to write several methods for returning cells at specific indexes, returning row counts in sections, and setting up and dequeueing cell classes. RedPotion still allows you to override and customize any of those behaviors, but using this method makes it easy to get started. The structure you return is an array of sections, where each is a hash with keys for specifying the section header, footer, and an array of cells that appear within the section. Each cell is defined as a hash with keys for specifying the title, subtitle, style, image, etc. All of these options are well documented. You can even use custom table cells (which we will cover in a future tutorial).
Now that we understand the basics of working with table screens, we need to talk about fetching remote data to display in the table screen.
Fetching Remote Data with AFMotion
Historically, working with remote data has been a pain for iOS developers, due to the verbose setup and method names required to achieve a seemingly simple task. Out of that pain, a library was born. AFNetworking is one of the oldest, and most popular iOS libraries. It was written in Objective-C and greatly simplifies the code required to fetch data from a remote API. Since RubyMotion allows us to use Objective-C libraries, a RubyMotion specific gem (AFMotion) was created to “wrap” AFNetworking, providing a simple DSL that feels more like Ruby.
Here is an example of using AFMotion to fetch data from an API. Since we know that our API returns JSON, we can use AFMotion::JSON to automatically deserialize the data.
AFMotion::JSON.get("http://calagator.org/events.json") do |response|
  if response.success?
    # do something with the response.object
  else
    # display an error message to the user
  end
end
The response.object will be an array of hashes that we will display on our table screen. One of the nice features about AFMotion, is that our API request will automatically be handled asynchronously. This is important so that we don’t block the UI while the user waits for the request to finish.
iOS 9 App Transport Security
If you tried running the example above, which connects to HTTP (not HTTPS), then you might have seen this error in the console:
App Transport Security has blocked a cleartext HTTP (http://) resource load since it is insecure. Temporary exceptions can be configured via your app’s Info.plist file.
iOS 9 introduced a new feature which is intended to protect users from insecure data transfer. Since we are only fetching data, and not submitting data, it is okay for us to use insecure HTTP in this case. To fix this issue, we need to configure our app to allow us to connect over HTTP. Add this to your RubyMotion project configuration block (in your Rakefile):
app.info_plist['NSAppTransportSecurity'] = {'NSAllowsArbitraryLoads' => true}Displaying Remote Data in a Table Screen
Now that we know how to fetch the data, let’s put all the pieces together. First, let’s update our app/app_delegate.rb to open our ListEventsScreen instead of the sample HomeScreen:
class AppDelegate < PM::Delegate
  def on_load(app, options)
    open ListEventsScreen.new(nav_bar: true)
  end
end
Next, let’s update our table screen. We will define a method to fetch the events and call that method in the screen’s on_load method. Our screen will try to display the table as soon as it has finished initializing (but before our API request has finished). That means we need to initialize an empty array as a placeholder for our events. Once our API request has finished successfully, we set our @events array to the value of the response object, and call update_table_data to redraw the table with the new data.
class ListEventsScreen < PM::TableScreen
title "Upcoming Events"
def on_load
@events = []
load_events
end
def load_events
AFMotion::JSON.get("http://calagator.org/events.json") do |response|
if response.success?
@events = response.object
update_table_data
else
app.alert "Sorry, there was an error while trying to load the events."
end
end
end
def table_data
[{
cells: @events.map do |event|
{ title: event["title"] }
end
}]
end
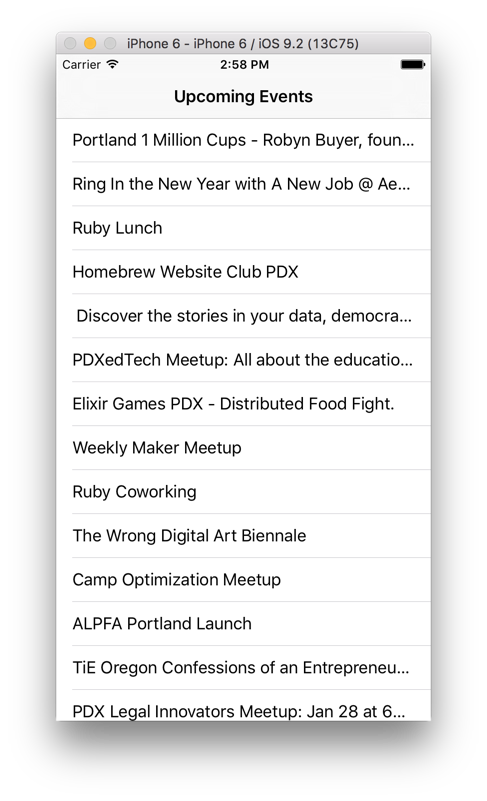
endRun bundle exec rake and see it working in the simulator:
If you’re having any issues, feel free to post in the comments or find us in Slack. We will continue expanding this app and exploring more topics in future tutorials. You can find the source code of our Calagator app on GitHub.