At our last MotionPDX meetup, we held a “getting started with RubyMotion” workshop. If you missed our last meetup, follow along to see what you missed. In this tutorial, we will get started building an iOS app.
What is RubyMotion?
RubyMotion is a toolchain which allows you to write truly native apps for iOS, OSX, Android, Apple Watch, AppleTV, in a syntax that looks like Ruby. It is not a transpiler (converting your code into Objective-C). Your app is statically compiled in the same way that Objective-C or Swift compile down to native code. RubyMotion is essentially a new implementation of Ruby, designed for building mobile apps.
Why use RubyMotion?
One of the main benefits of using RubyMotion is that you don’t have to learn a new language in order to start building mobile apps. You get to use the Ruby language that you are already familiar with. If you’re not already familiar with Ruby, you will find Ruby a lot easier to read and write than Objective-C, Swift, or Java. Practically speaking, you will end up learning a little bit about Objective-C in order to translate some of the examples or documentation.
A second benefit is the ability to build cross platform apps. By removing the language differences, RubyMotion has the potential to allow you to write a single app that supports both iOS and Android within the same codebase. Practically speaking, building cross-platform apps in a single codebase depends on using some sort of framework that abstract the differences between platform-specific user interfaces. Fortunately, there are already a few great frameworks that are making progress in this area. Regardless, there is still the opportunity for reusing code because of the common language.
Installing RubyMotion
It should be noted that RubyMotion only runs on a Mac. This is because RubyMotion still needs access to Apple libraries and build tools in order to compile your app and run the iOS simulator. You will also need to make sure you have Xcode installed. Once you have Xcode installed, open Xcode > Preferences, click on the Downloads tab, and install iOS SDK 9.2.
To get started using RubyMotion, you first need to register for a license and download the installer. Visit the RubyMotion download page and select between the following plans:
-
Free (“starter”) - Great for trying out RubyMotion. You can even publish an app to the App Store, but your launch image will display a message saying that it was “Made with RubyMotion”. Also note that the free plan only supports iOS 9.2 and Android 5.0.
-
Indie ($199/year) - You will likely want this one if you plan to do any sort of professional development. Support is limited to the community forums (and our own Slack channel).
-
Professional ($499/year) - If you would like priority support, this is the plan for you.
Once you’ve registered for a plan, you will receive an email with your license key and a link to download the installer.
Generating your first app
Now that you have RubyMotion installed, let’s generate your first app. Open up your Terminal app. Note that this tutorial was written using RubyMotion 4.8.
$ motion --version
4.8
RubyMotion comes with quite a few templates for starting your project. To see all the templates, type motion create:
$ motion create
Usage:

    $ motion create APP-NAME

      Create a new RubyMotion project from one of the following templates: android, gem, ios (default), ios-action-extension, ios-custom-keyboard, ios-document-picker, ios-file-provider, ios-framework, ios-photo-editing, ios-share-extension, ios-today-extension, ios-watch-app, ios-watch-extension, osx, tvos, redpotion-template.

Options:

    --template=[NAME|URL]   A built-in template or from a file/git URL
The iOS template is the default, so start with this:
$ motion create my_first_rm_appThis will create a directory structure that looks like this:
my_first_rm_app/
├── Gemfile
├── Rakefile
├── app
│   └── app_delegate.rb
├── resources
│   ├── Default-568h@2x.png
│   ├── Default-667h@2x.png
│   └── Default-736h@3x.png
└── spec
    └── main_spec.rb
The Rakefile is the entry point into your RubyMotion app. Open it up and you will find the configuration information for your app. It starts by loading the RubyMotion project template file, which adds all of the Rake tasks which will be used for compiling the app.
To run the app in the iOS simulator, run the default rake task:
$ cd my_first_rm_app
$ bundle exec rake
    Build ./build/iPhoneSimulator-9.2-Development
  Compile ./app/app_delegate.rb
   Create ./build/iPhoneSimulator-9.2-Development/my_test_app.app
     Link ./build/iPhoneSimulator-9.2-Development/my_test_app.app/my_test_app
          ......
 Simulate ./build/iPhoneSimulator-9.2-Development/my_first_rm_app.app
*** Starting simulator
(nil)?
If all goes well, you should see the iOS simulator launch and display a screen that looks like this:
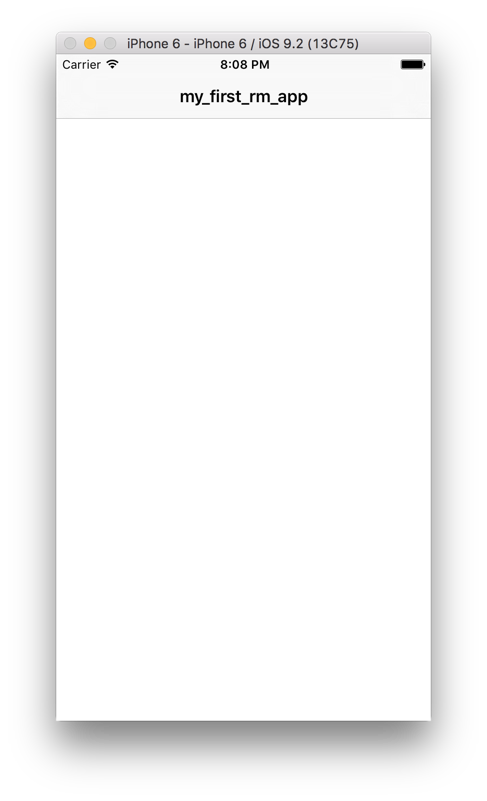
If you didn’t see the simulator pop up, then it’s time to figure out what went wrong. I might have forgotten to explain a step. Here are a few places you can try to find help:
- Search the RubyMotion Community Forums for an answer.
- Ask for help in our RubyMotion Slack channel.
- Post your question in the comments below.
Assuming you’ve made it this far, then you’ve resolved any system configuration and dependencies necessary to develop your RubyMotion application.
Next, let’s take a quick look at the app_delegate.rb file. This is the entry point into your iOS app.
class AppDelegate
  def application(application, didFinishLaunchingWithOptions:launchOptions)
    rootViewController = UIViewController.alloc.init
    rootViewController.title = 'my_first_rm_app'
    rootViewController.view.backgroundColor = UIColor.whiteColor

    navigationController = UINavigationController.alloc.initWithRootViewController(rootViewController)

    @window = UIWindow.alloc.initWithFrame(UIScreen.mainScreen.bounds)
    @window.rootViewController = navigationController
    @window.makeKeyAndVisible

    true
  end
end
In the sample App Delegate that was generated, you can see the following:
- Create a view controller.
- Create a navigation controller with the view controller as the root.
- Create a window with the nav controller as the root.
RubyMotion makes this code a lot easier to read than the Objective-C equivalent. However, it’s still quite a bit of boilerplate code to accomplish very little and doesn’t feel much like the kind of Ruby code you’re used to writing. Fortunately, there is a framework which greatly simplifies a lot of the iOS boilerplate code.
In the next tutorial, we will introduce you to a great RubyMotion framework called RedPotion which will significantly improve your RubyMotion iOS development experience.